App Installation & Navigation
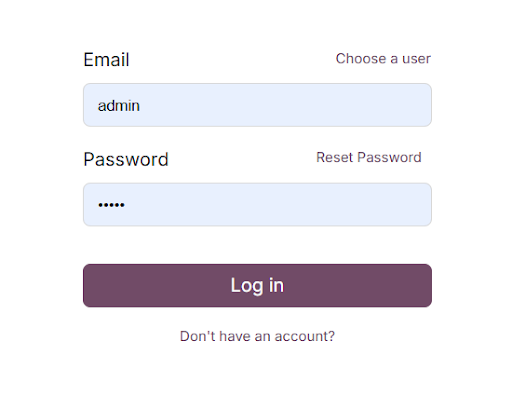
Please use the provided URL and log in using the given username and password.
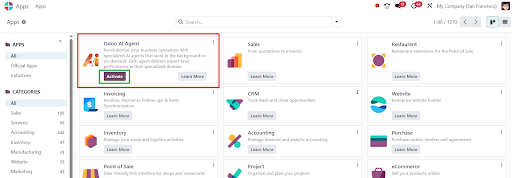
Navigate to the Odoo App Store.
Find the Odoo AI Agent module and click on the Activate button to complete the installation.
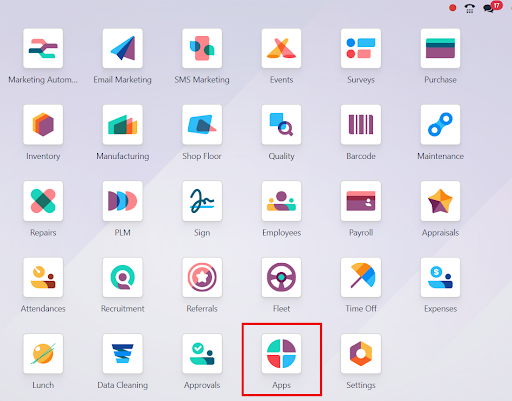
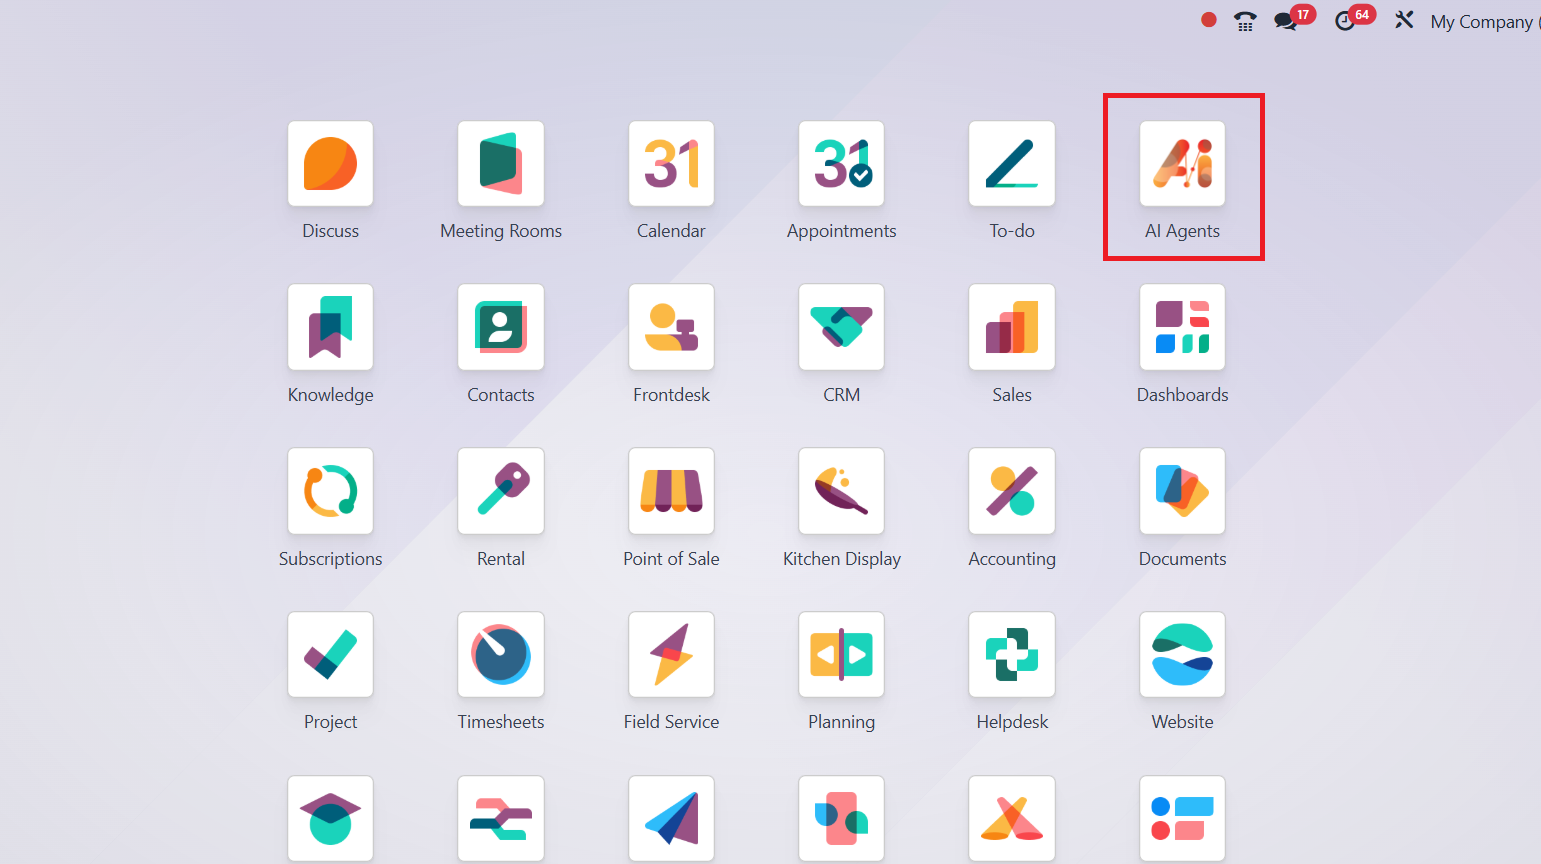
After installation, the Odoo AI Agent module will be visible on the Home screen.
Configuration Details & Navigation
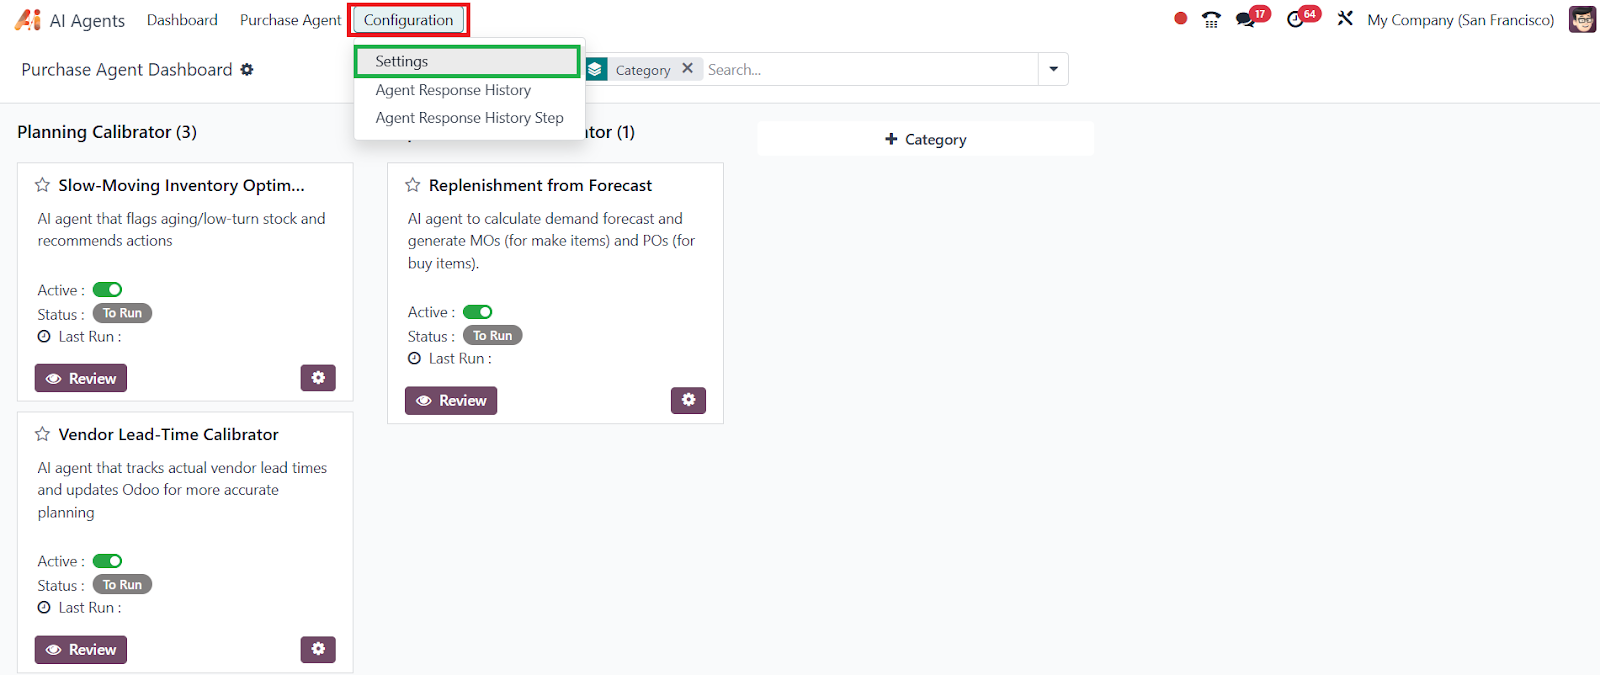
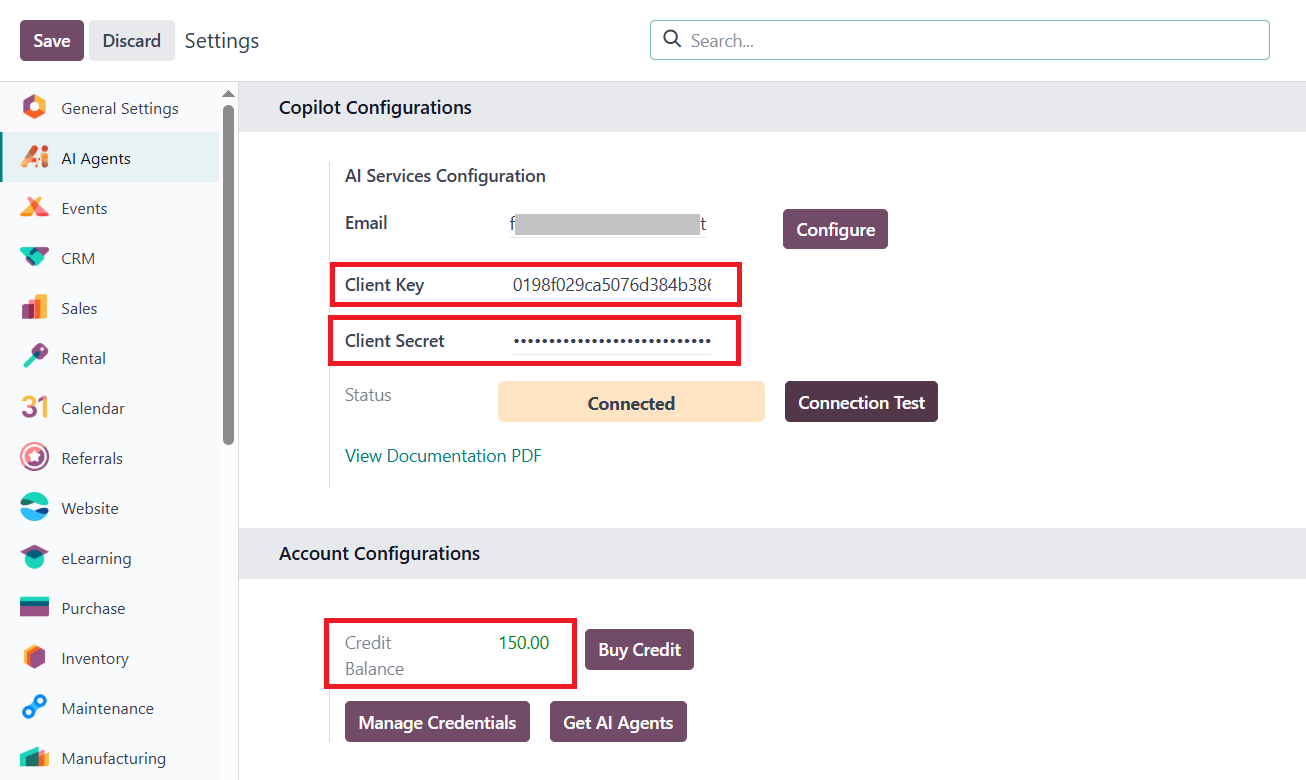
Once the module is installed, go to Configuration → Settings to view detailed configuration information.
The User Configuration setup and Sign-Up process are completed automatically after installation of the module.
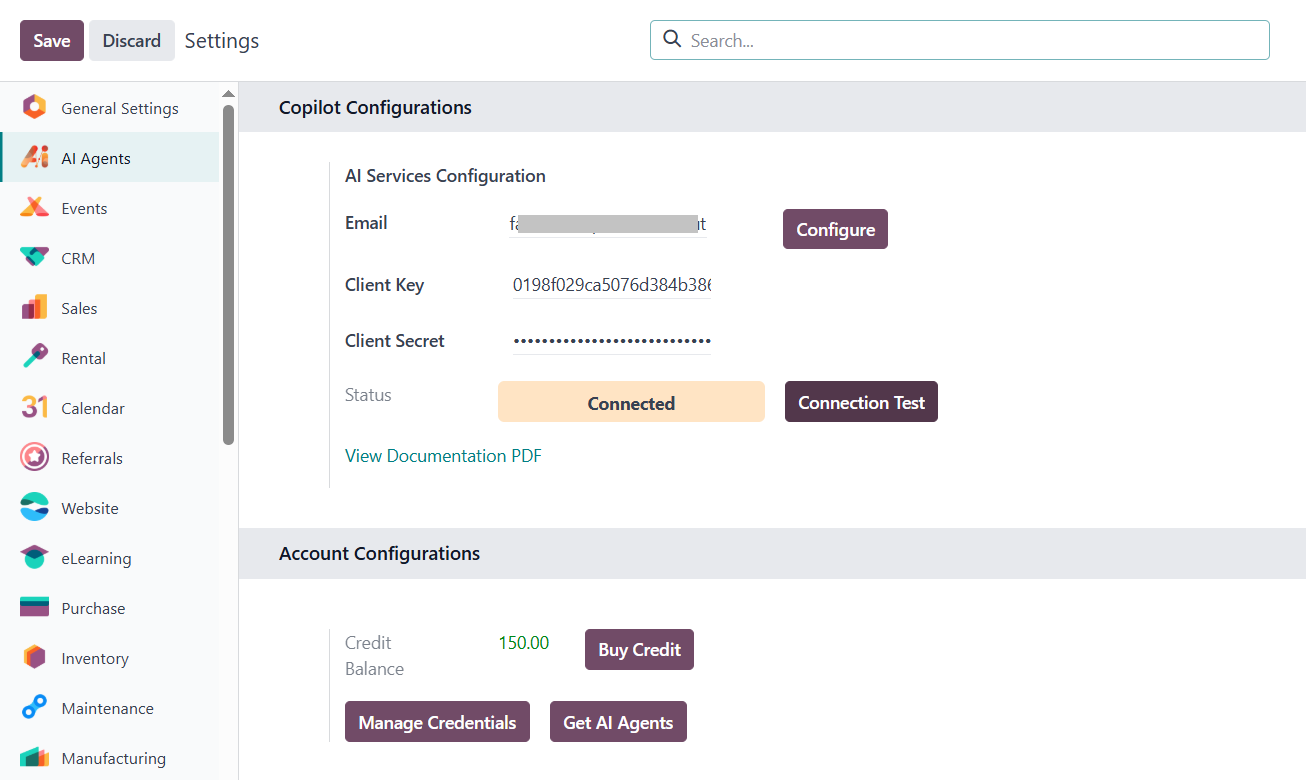
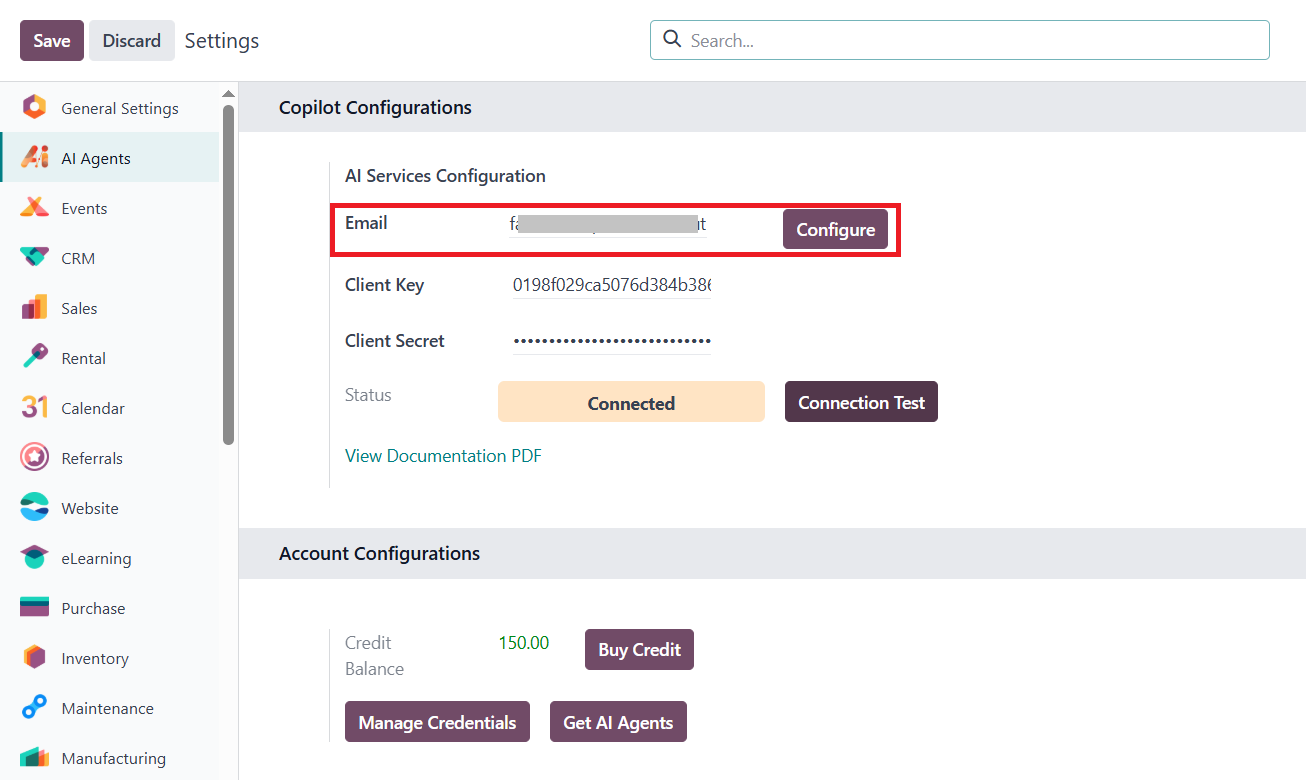
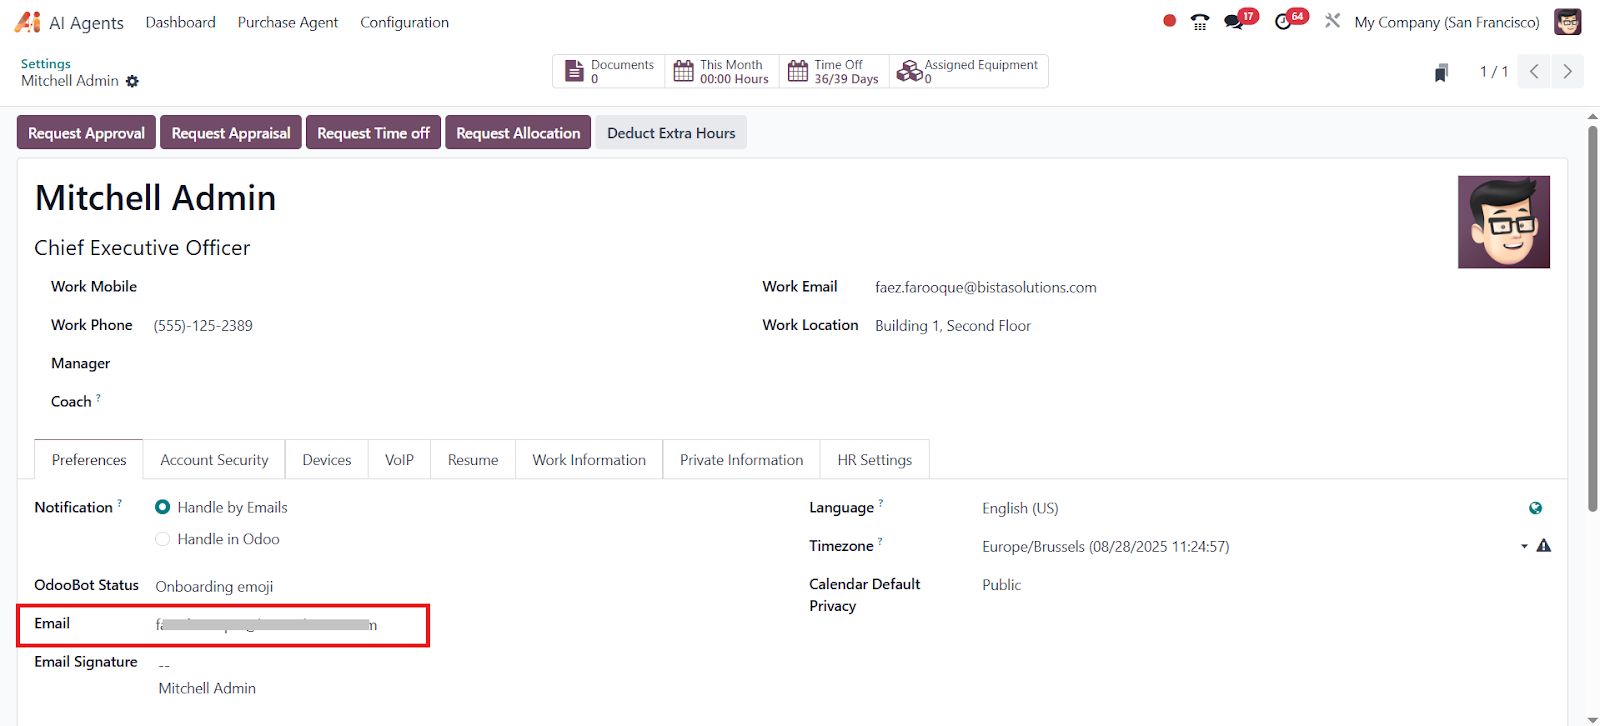
The “Email” field under Copilot Configurations is automatically populated from the email address defined in the Admin user settings.
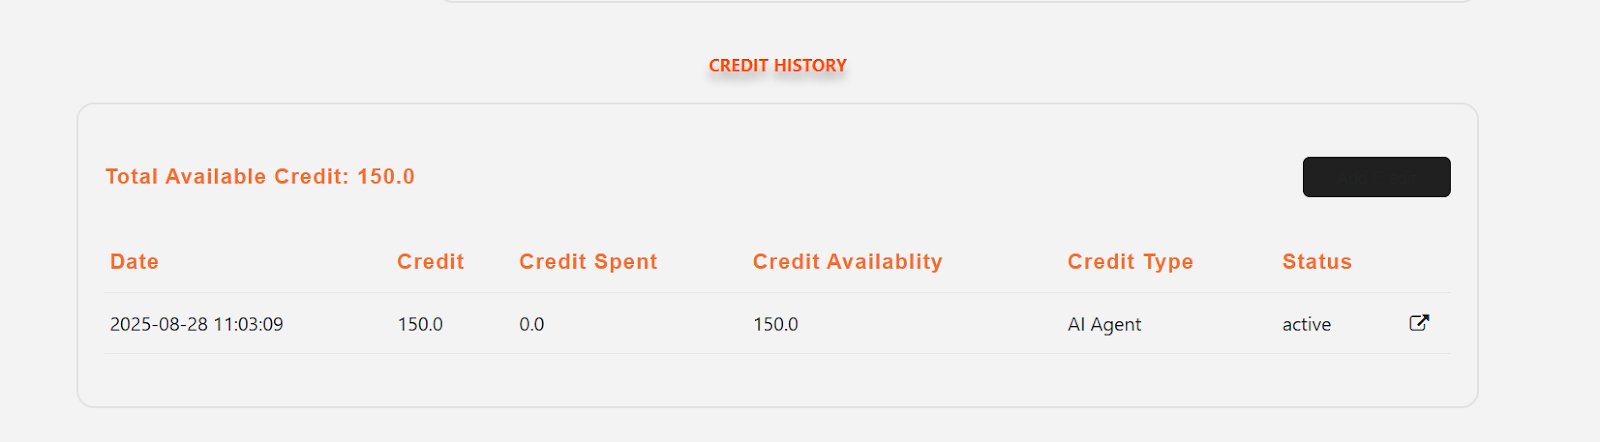
A Client Key and Client Secret are automatically generated during the auto Sign-Up process. A balance of 150 free credits will be automatically added to the user account.
All these details are also sent to the user's registered email address.
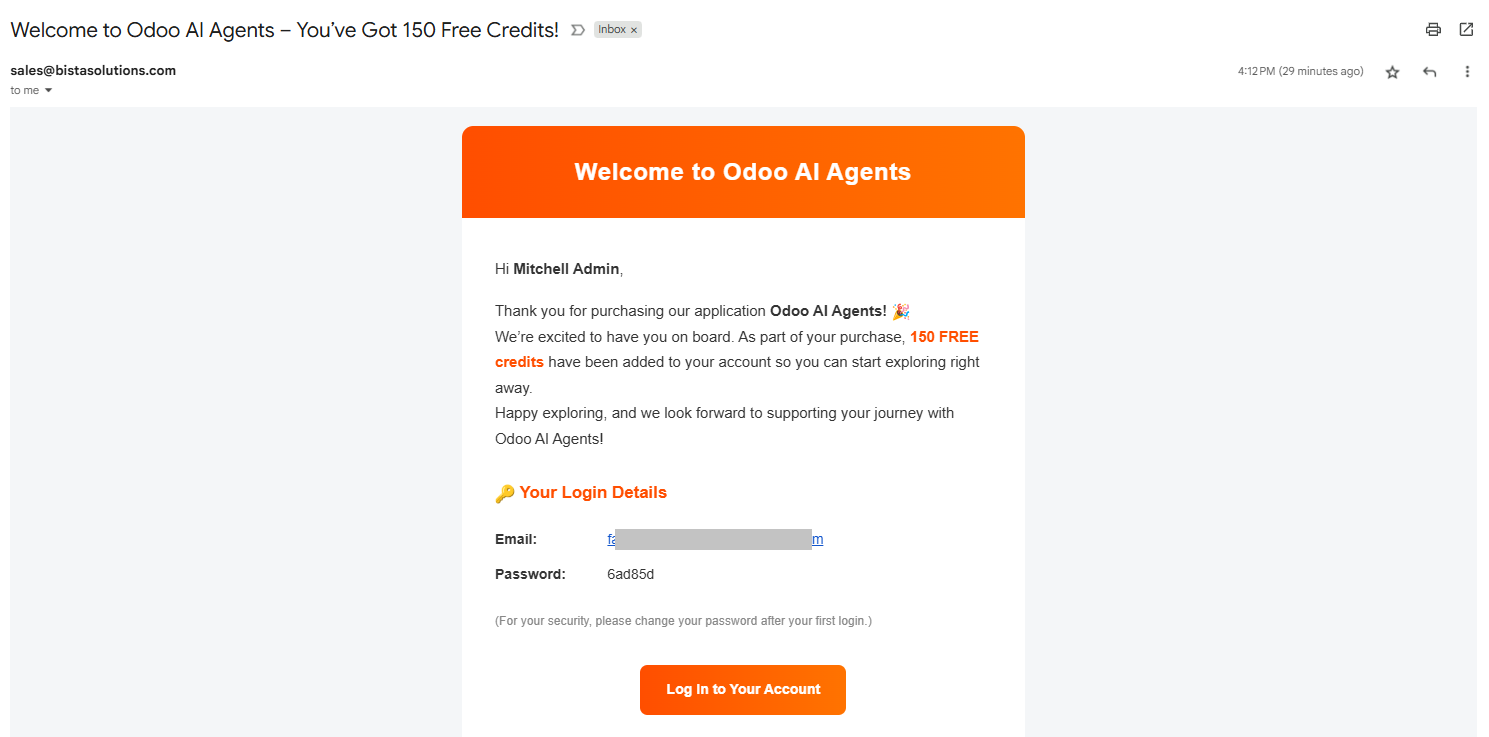
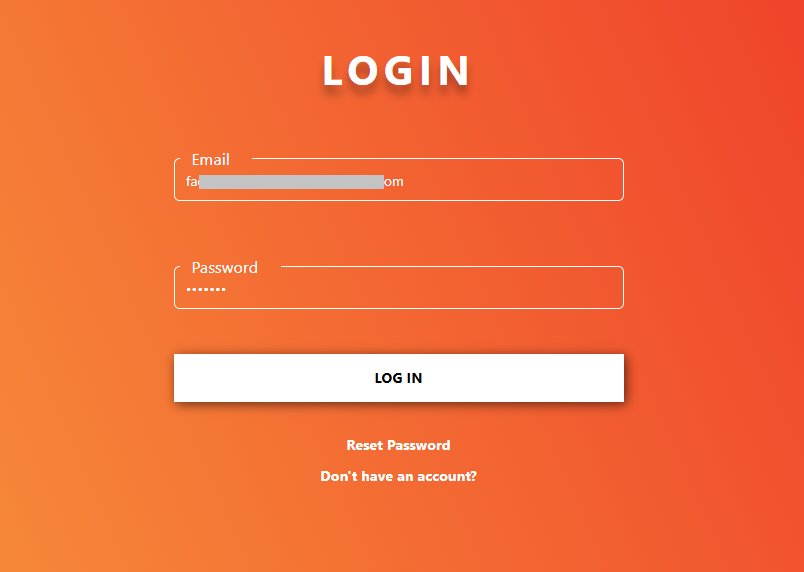
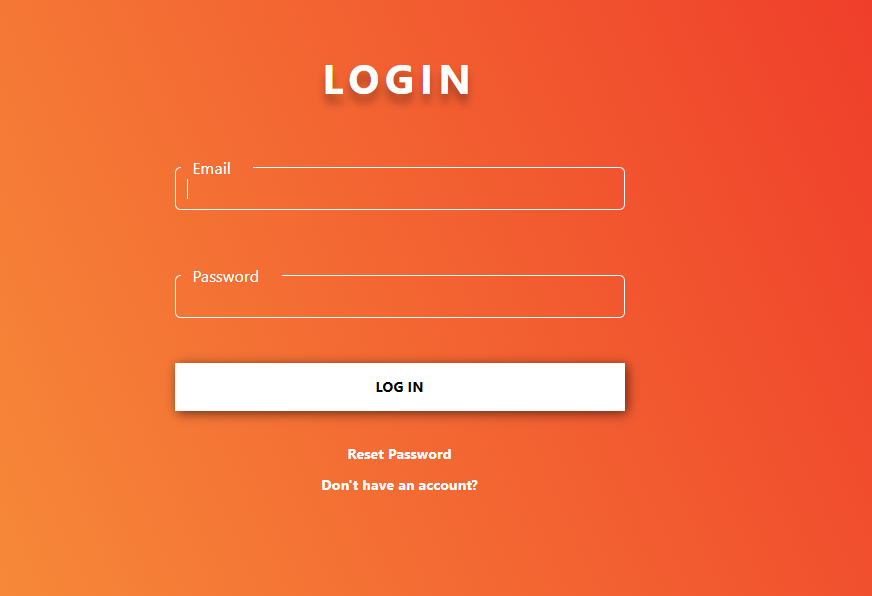
The user can now log in with the provided credentials.
After logging in, the Home page will appear. From the Home page, go to the Agent Dashboard.
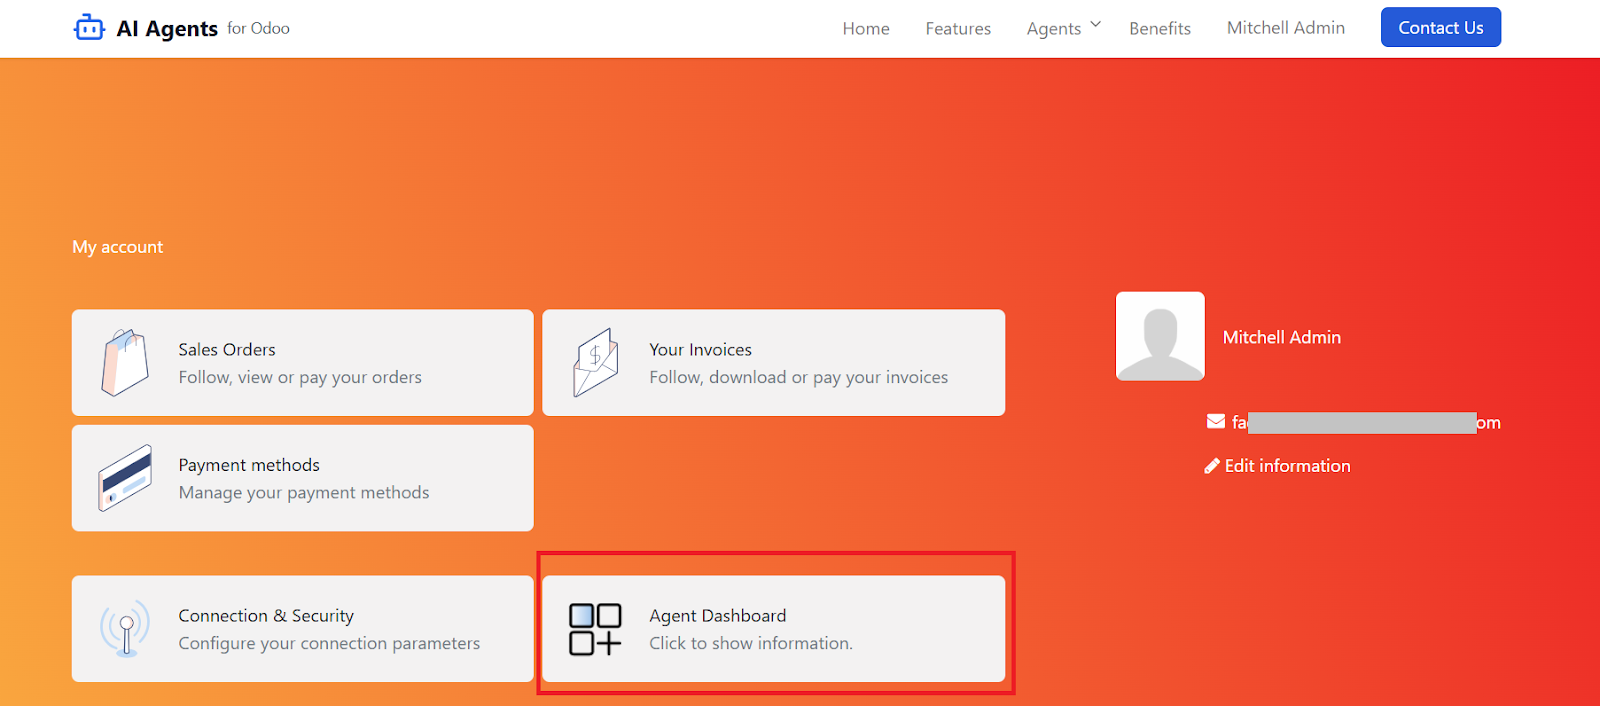
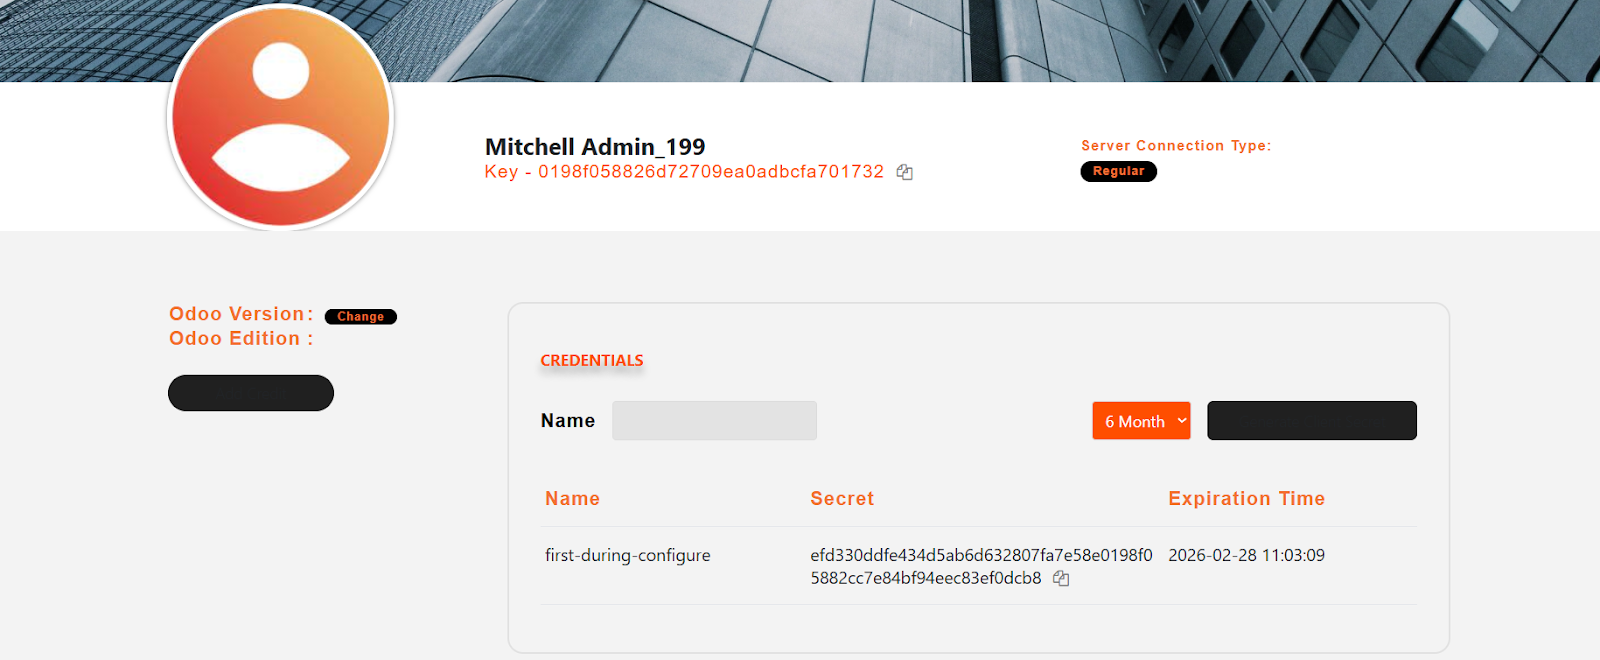
On the Agent Dashboard, the user can view the Credentials & Credit History of their account.
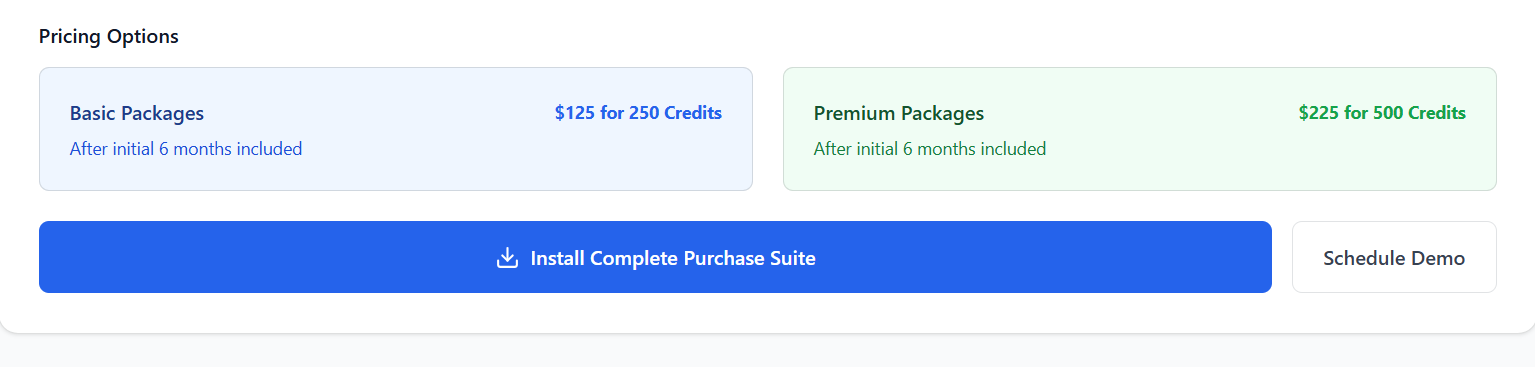
Buy Credit → Redirects to the “Pricing" page.

Manage Credentials → Redirects to the login page.
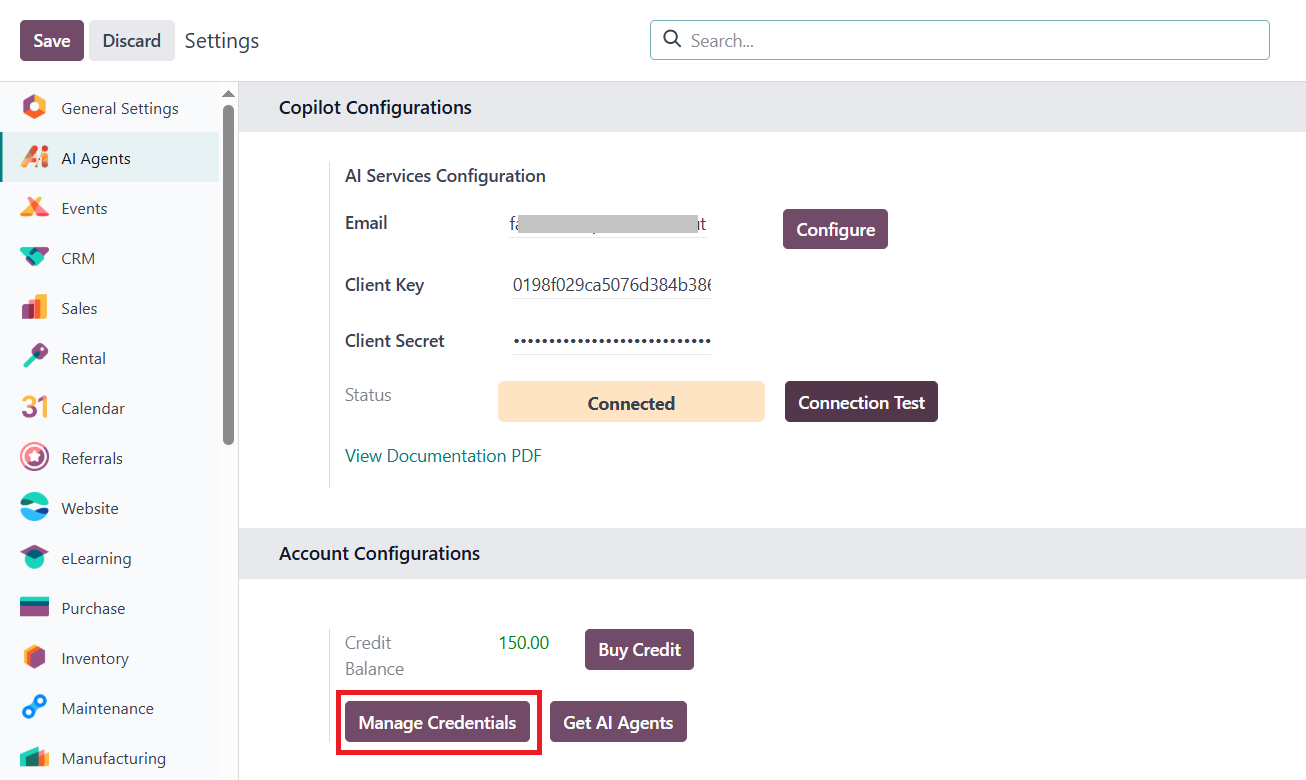
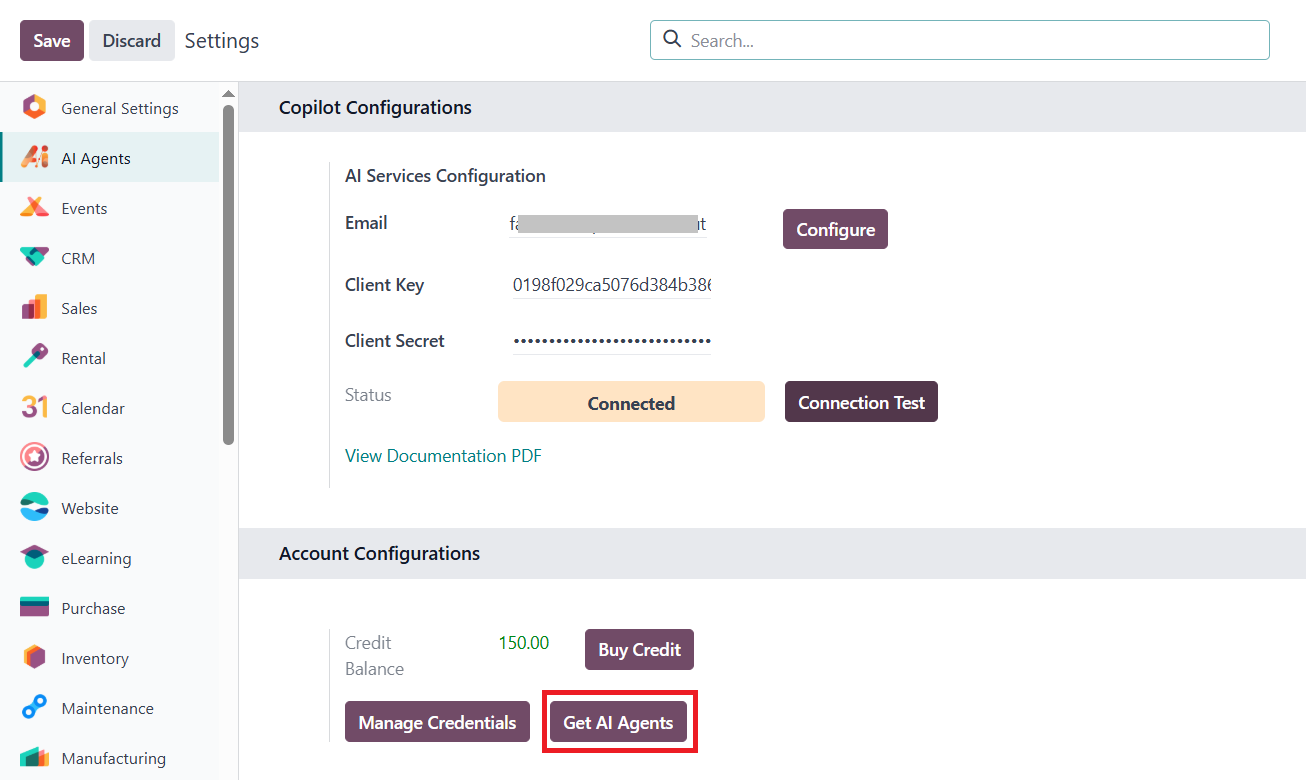
Get AI Agents → Redirects to the latest available AI Agents list (if new agents are available server-side).
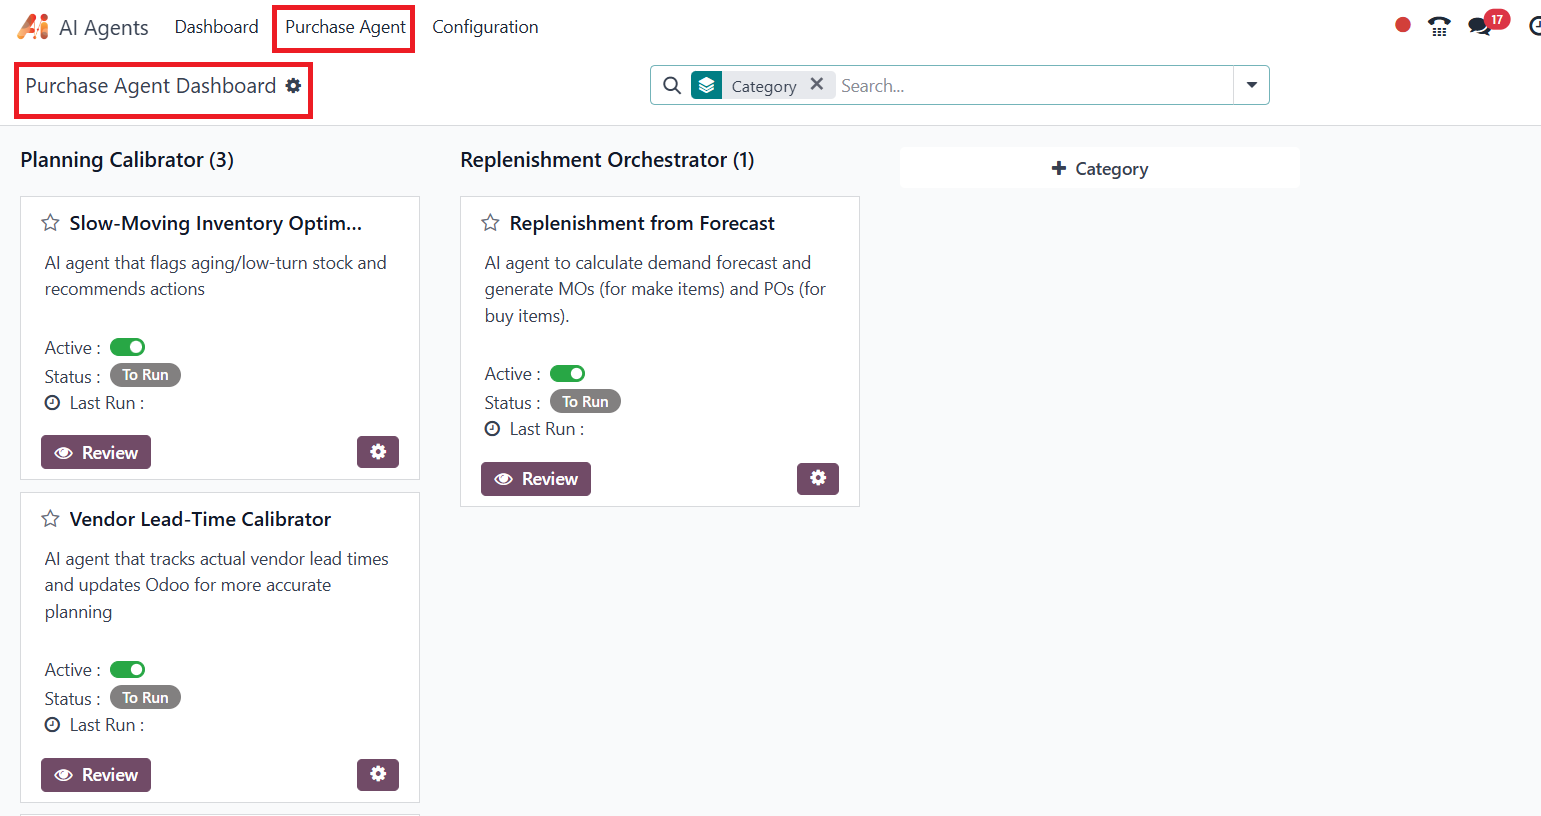
AI Agent Dashboard & Navigation
Opening the module also lands the user directly on the Agent Dashboard. Clicking on Dashboard will always return to this page.
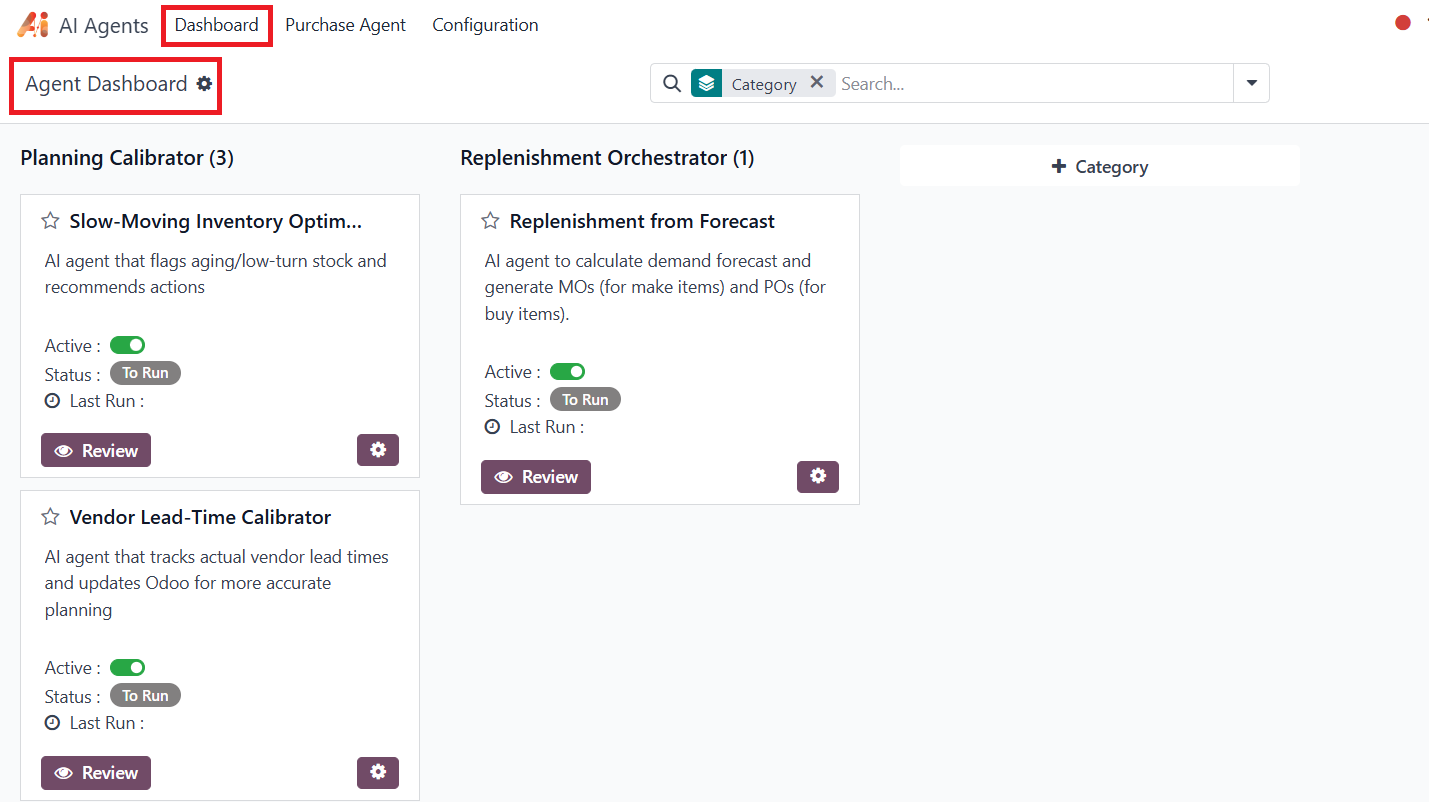
On the module dashboard, available AI agents are listed based on user purchases. Example: Currently, only one Purchase Agent is available. Additional agents: like Sales, Accounting, HR will appear if purchased.
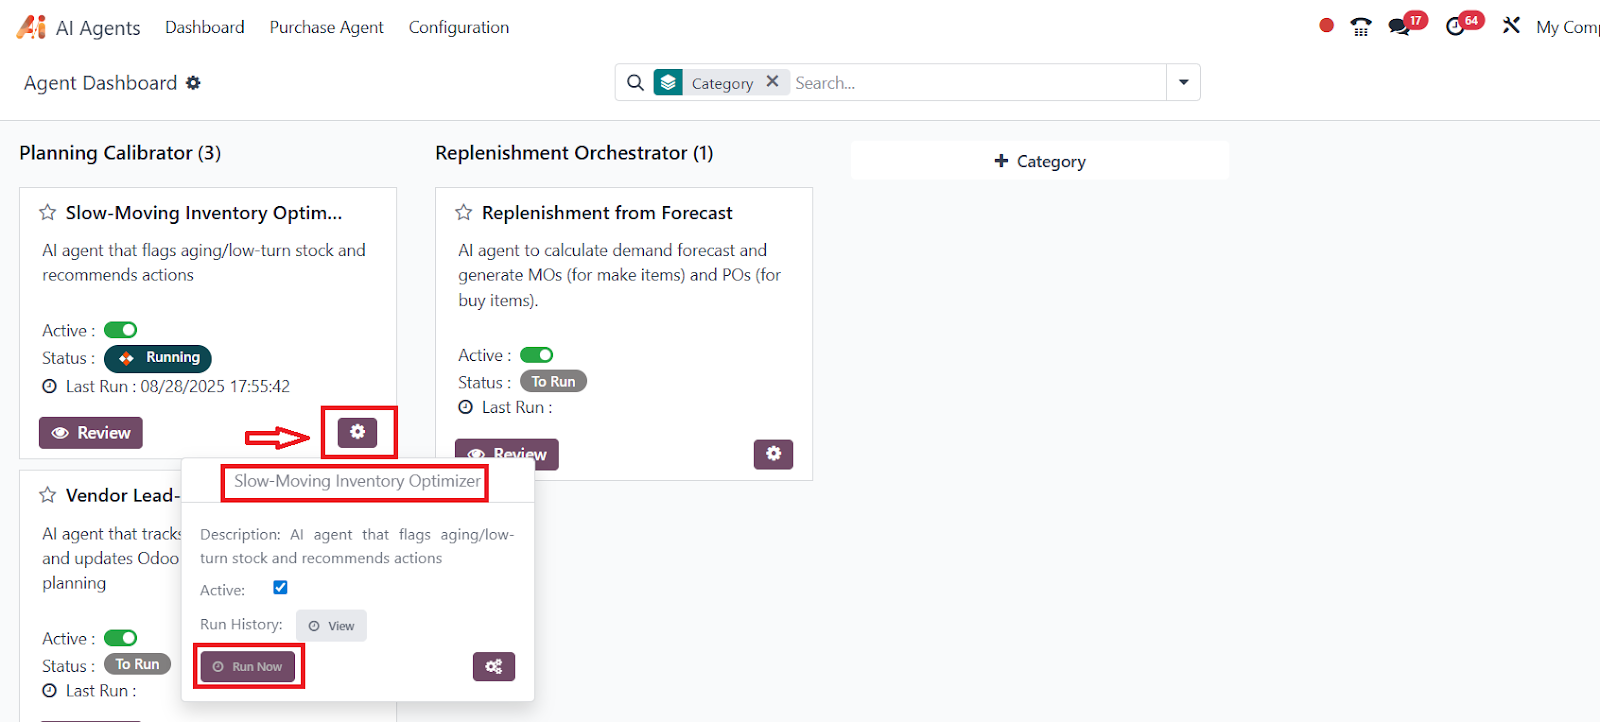
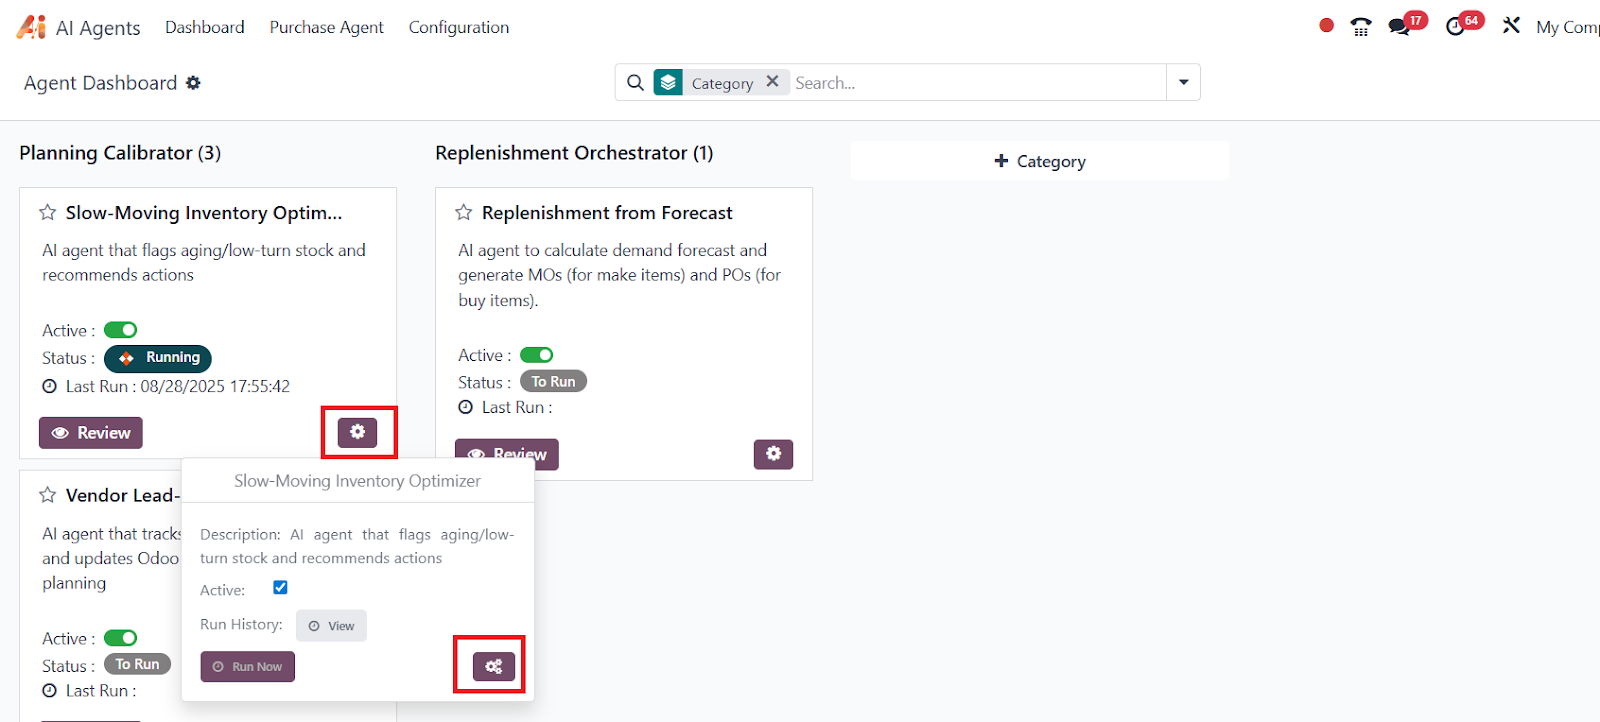
The user can run any agent at any time by clicking the “Run Now” option from the settings icon. Once executed, the agent's status will update to “Running,” highlighted “Status: Running” in green color on the screen.
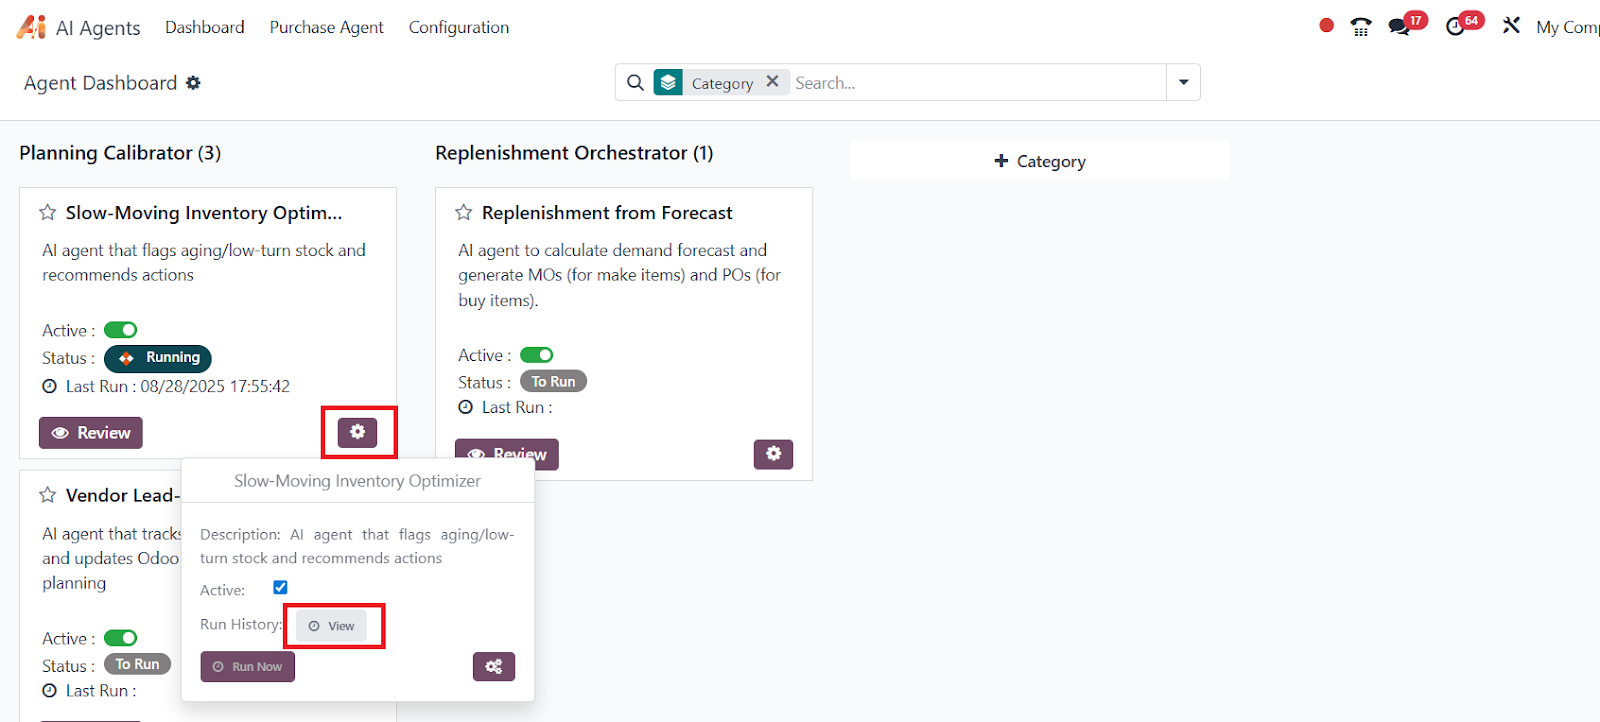
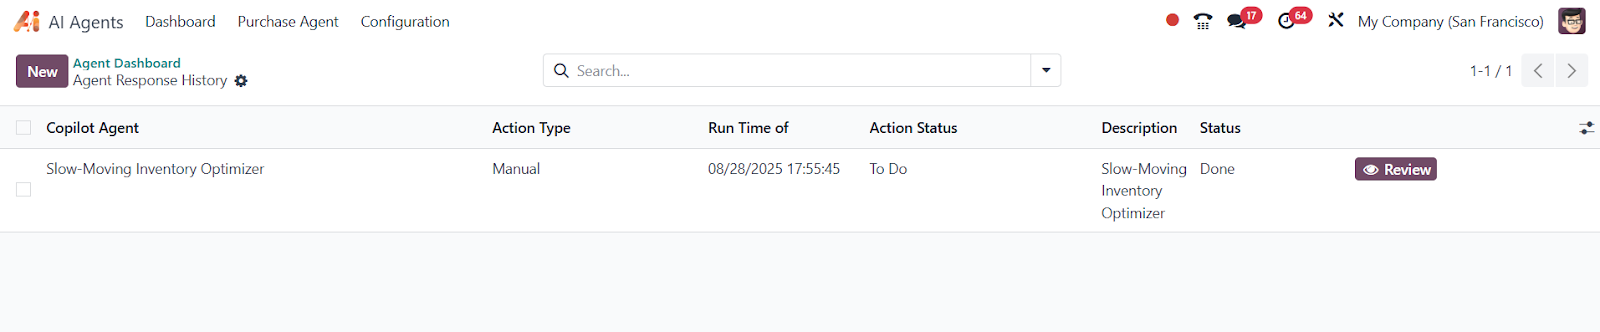
The user can view the Agent Response History by clicking the “View” button, which displays the number of times the agent has been executed.
Users will be able to run the scheduler from the small setting icon button.
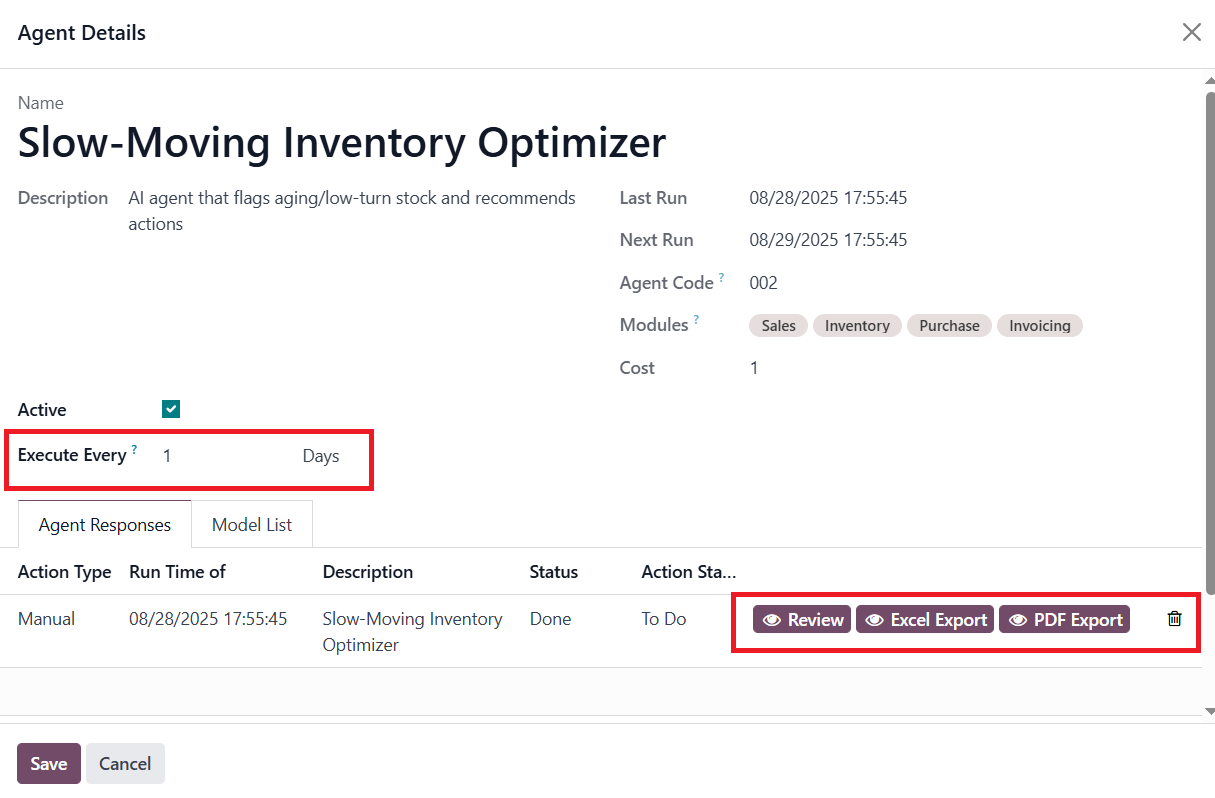
By entering a value in the “Execute Every _ Days” field and clicking “Save,” the scheduler will run automatically at the defined interval. The user can also perform additional actions such as Review, Excel Export, PDF Export, or Delete.
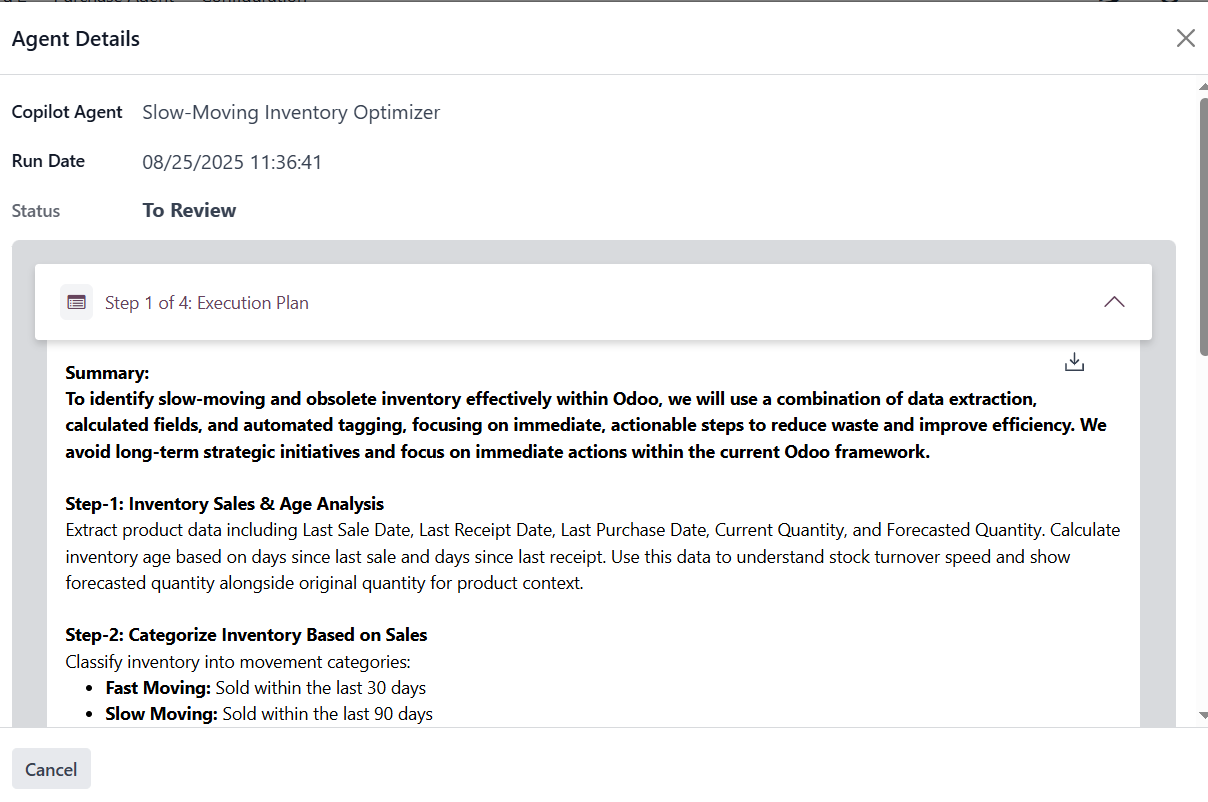
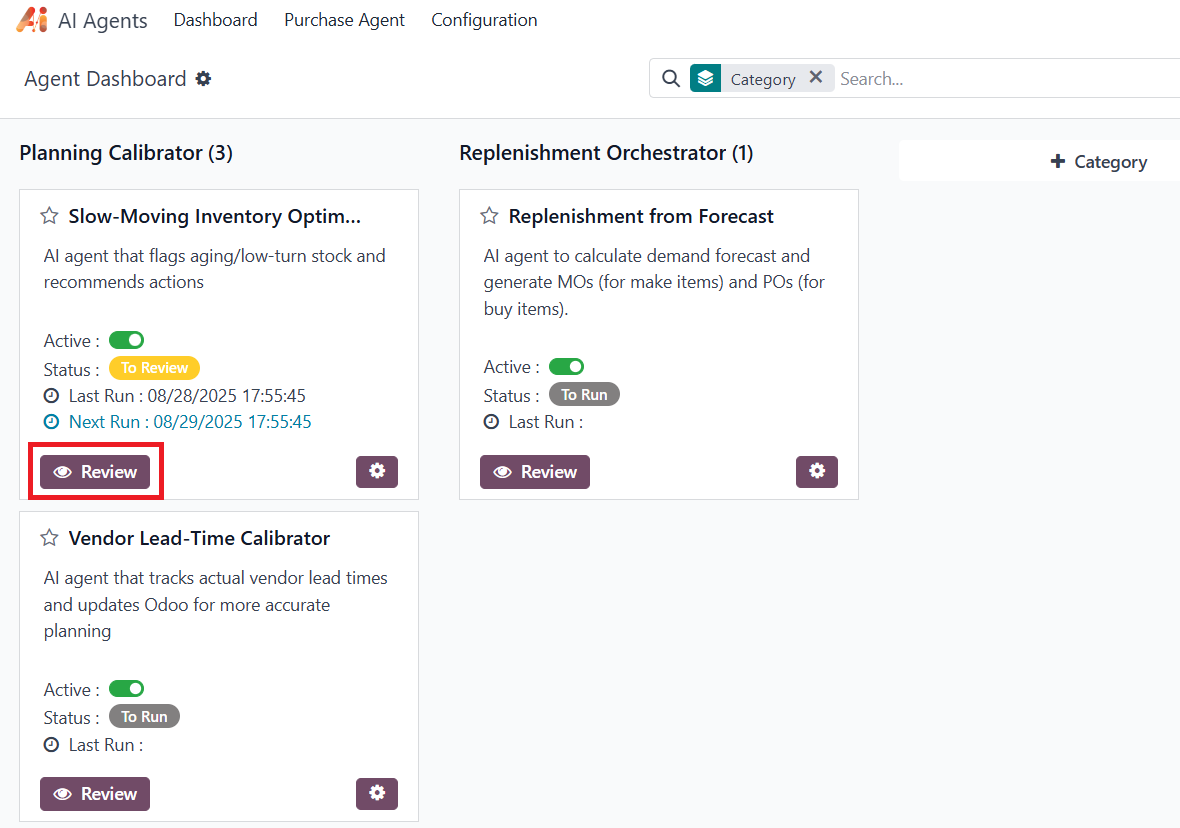
The user can view the latest AI Agent response by clicking the “Review” button of the agent.
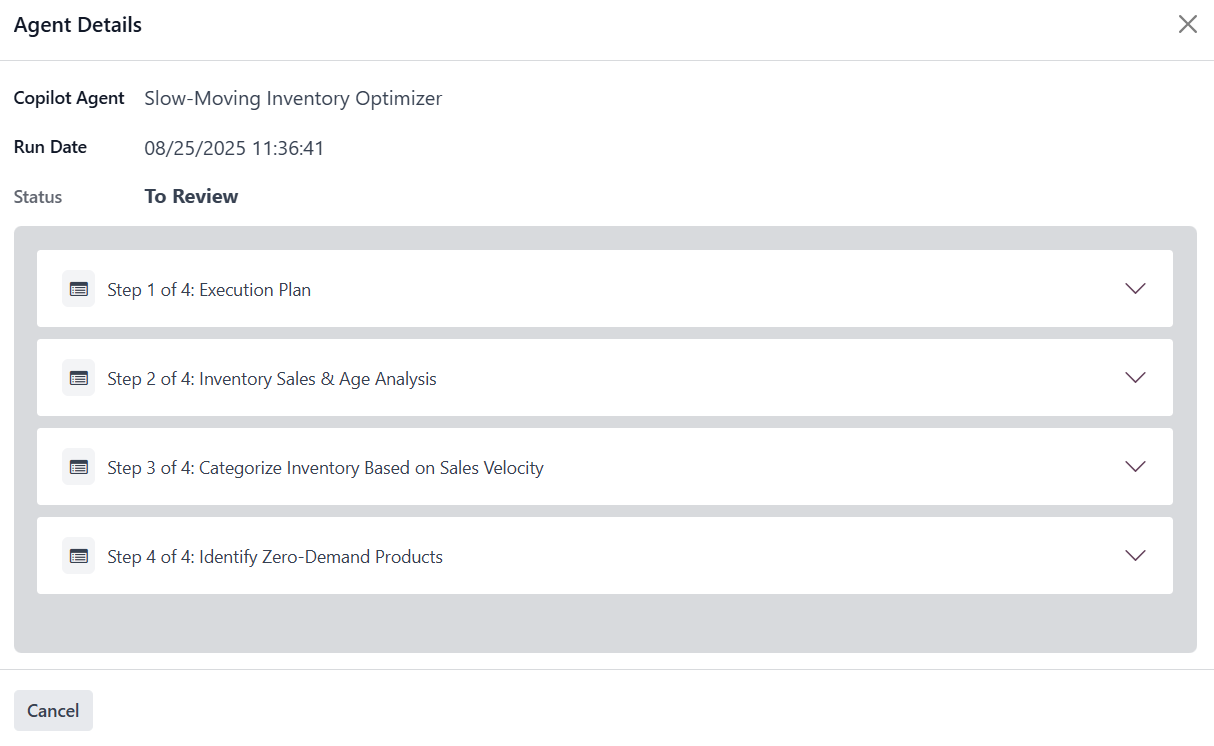
The user can review the response of Agent’s each step by clicking the dropdown icon beside the step.